Schematics is a workflow tool for the modern web; it can apply transforms to your project, such as create a new component, or updating your code to fix breaking changes in a dependency. Or maybe you want to add a new configuration option or framework to an existing project.
– from Official Introduction article
Angular CLI comes with very useful schematics to generate an application, component, service, module and many more.
In Angular CLI 6, ng add command was introduced.
ng add adds the npm package for a published library to your workspace, and configures your default app project to use that library, in whatever way is specified by the library’s schematic. For example, adding @angular/pwa configures your project for PWA support.
Here is the list of external library angular schematics which helps you to improve application development speed and productivity.
To configure angular material design in your application generally, you need to follow four to five steps as mentioned in official angular material get started document.
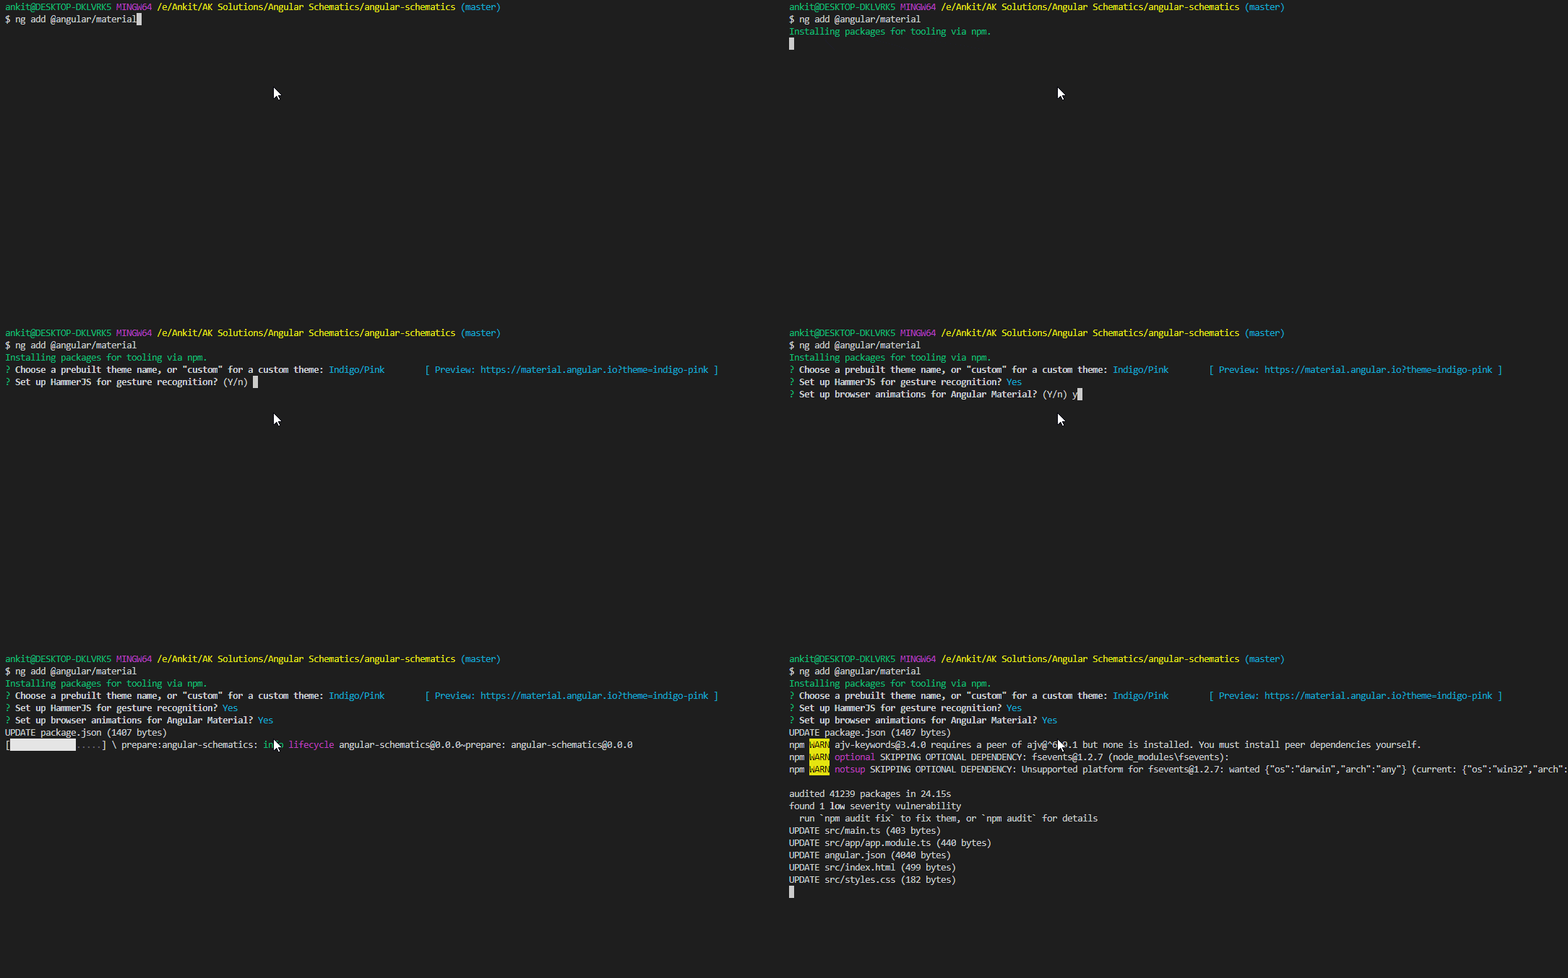
But thanks to angular material schematics, using this you can configure the whole setup just by executing below command.
ng add @angular/material
Executing this command will perform the following action.
- Ensure project dependencies are placed in
package.json - Enable the
BrowserAnimationsModuleyour app module - Add either a prebuilt theme or a custom theme
- Add Roboto fonts to your
index.html - Add the Material Icon font to your
index.html - Add global styles to Remove margins from body
Set height: 100% on html and body - Make Roboto the default font of your app
- Install and import
hammerjsfor gesture support in your project
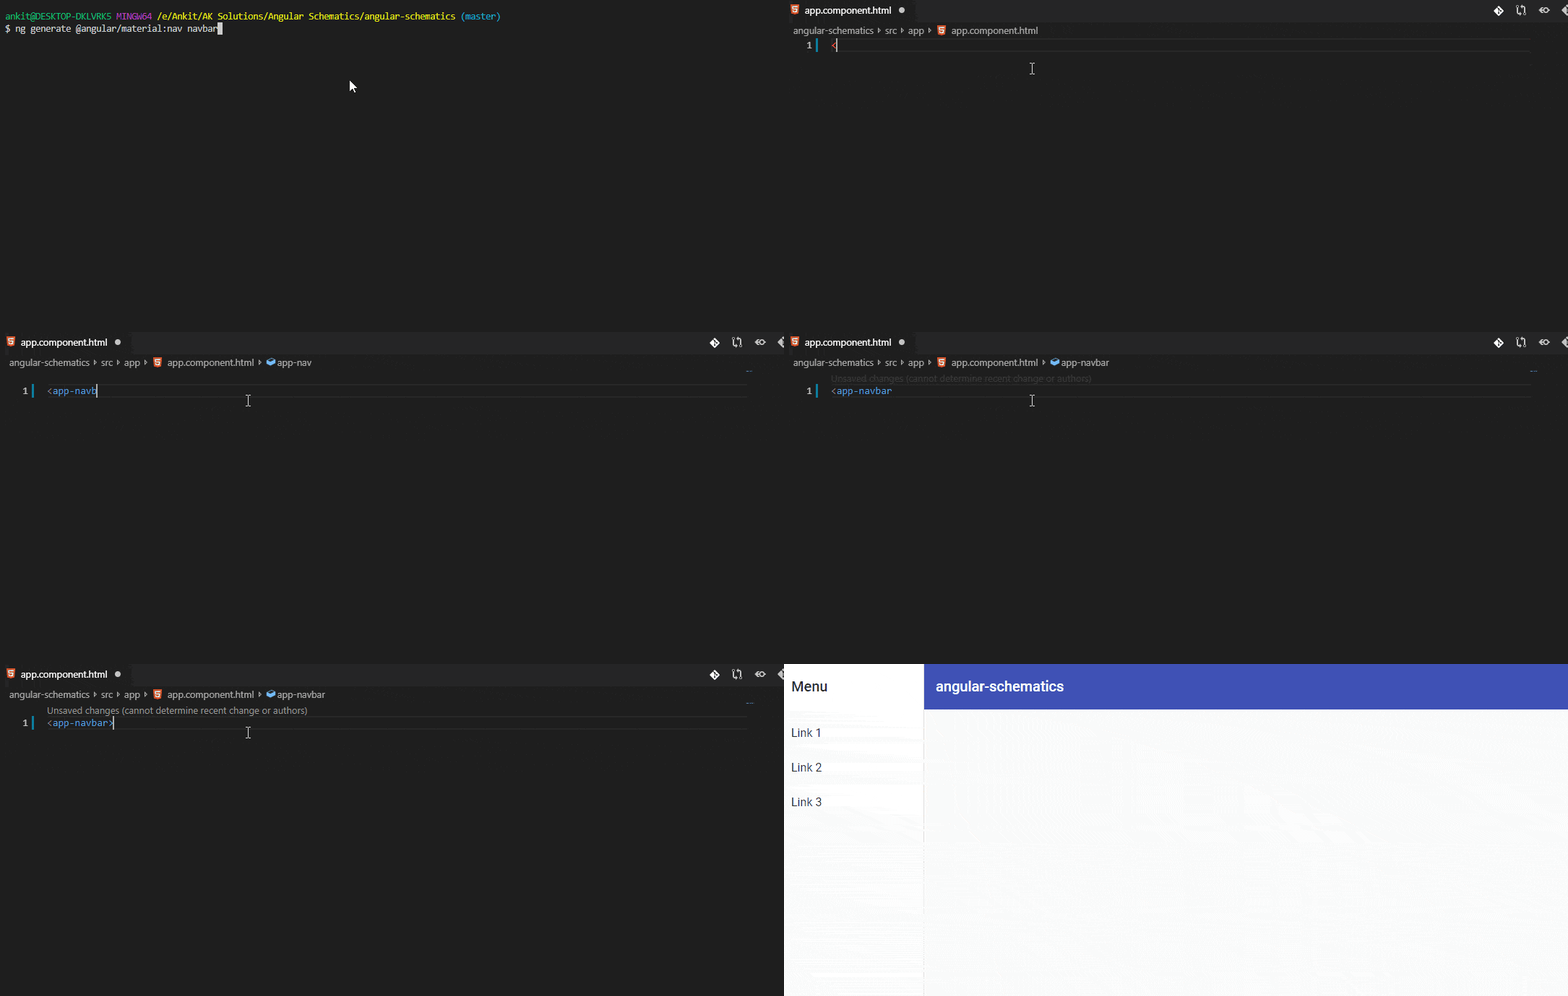
In addition to schematics for installation, Angular Material comes with the schematics for predesigned components like dashboard component, navigation component, address form component etc.
Address Form schematic
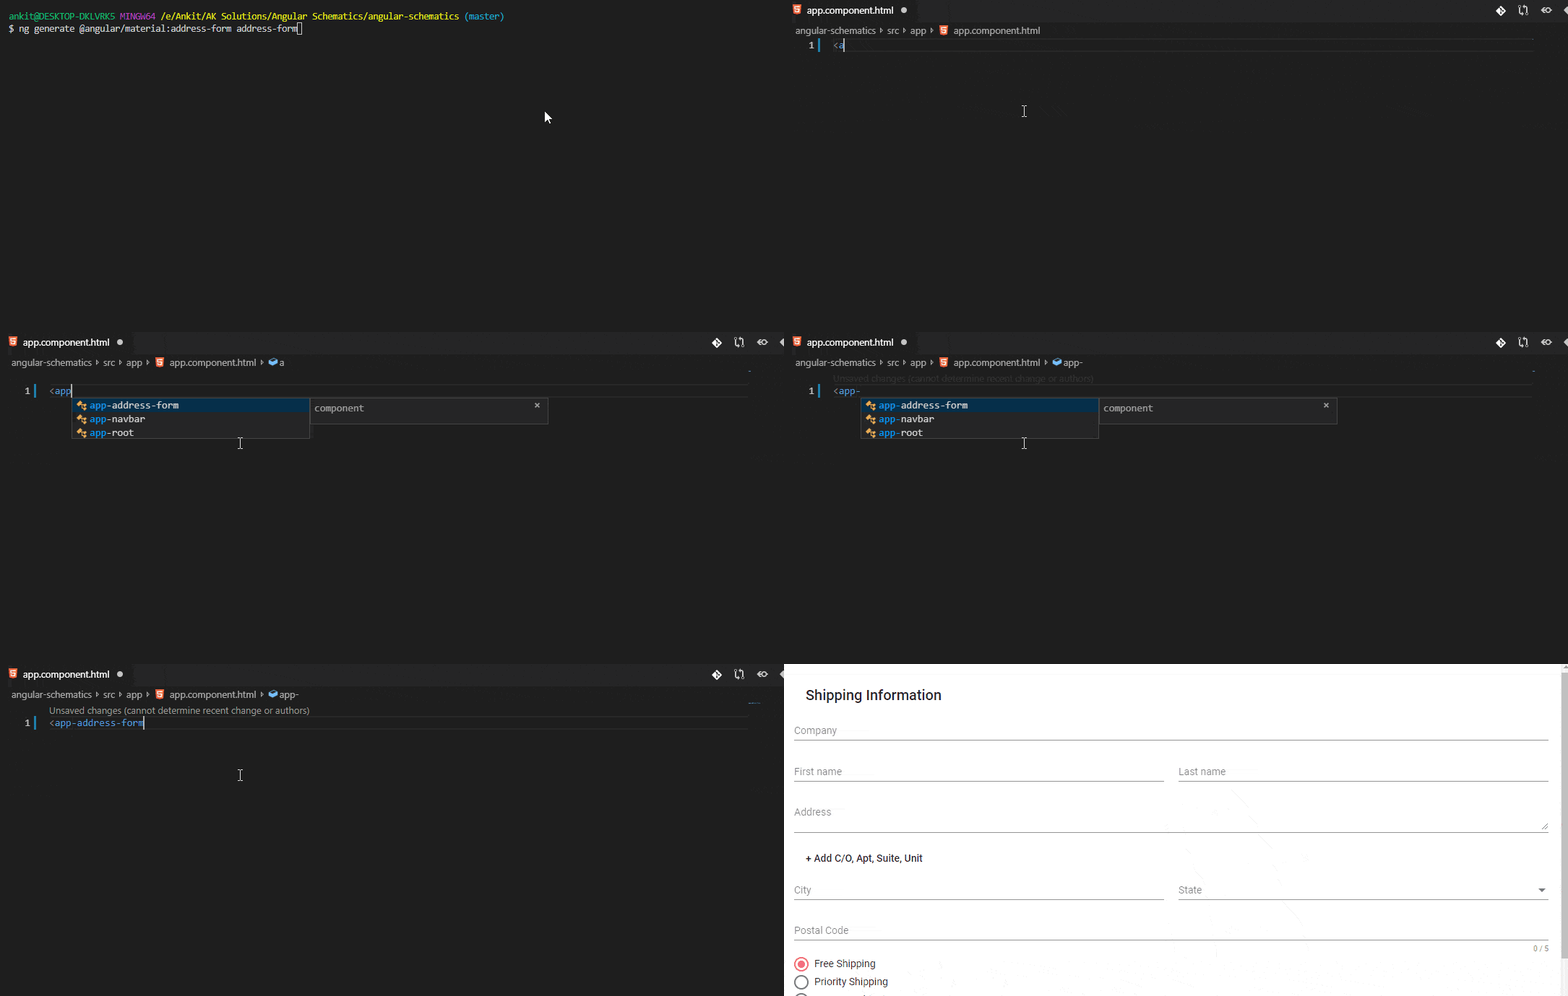
Execute the below command to generate predesigned address form component.
ng generate @angular/material:address-form <component-name>
This command generates the component with given component-name and includes the predesigned form with the angular material form field, radio button, and button component. you can customize this form as per your requirement.
Table schematic
Table schematic generates the component that renders an Angular Material <table> which has been pre-configured with a datasource for sorting and pagination.
ng generate @angular/material:table <component-name>
checkout the list of best angular data tables
Dashboard schematic
Dashboard schematic generates component with dynamic grid list of material design cards.
ng generate @angular/material:dashboard <component-name>
Tree schematic
Tree schematic generates an angular component that uses the Angular Material <mat-tree> component to visualize a nested folder structure.
ng generate @angular/material:tree <component-name>
Drag and Drop schematic
Drang and drop schematic is a part of @angular/cdk, this schematic generates an angular component that uses CDK drag and drop directives.
ng generate @angular/cdk:drag-drop <component-name>
checkout the best angular UI component libraries
Generally, you need to follow below steps to manually install and configure the clarity design system as mentioned in get started.
- Install
@clr/icons,@clr/ui,@clr/angularand@webcomponents/custom-elementspackage. - Adding scripts and styles in
angular.json - Import
ClarityModuleinAppModule
But using clarity design system angular schematic, you can configure the whole setup just by executing below command.
ng add @clr/angular
Executing this command will perform all the above-mentioned action which you need to do manually.
Note: If you are using the Angular CLI with multiple projects, you can specify which project to add Clarity to by using the --project PROJECTNAME flag.
Clarity design system also provides an angular schematic to update it in order to keep up to date.
ng update @clr/angular
Ngx-bootstrap provides the following schematic to install it in Angular Application.
ng add ngx-bootstrap
Executing this command will update your Angular project with the necessary ngx-bootstrap dependencies, make changes to package.json, angular.json and will execute initialization code.
Ngx-bootstrap also provides a schematic to add appropriate component. for example to use accordion component use below command
ng add ngx-bootstrap --component accordion
same as above it also provides commands for other components.
Progressive Web Apps are experiences that combine the best of the web and the best of apps.
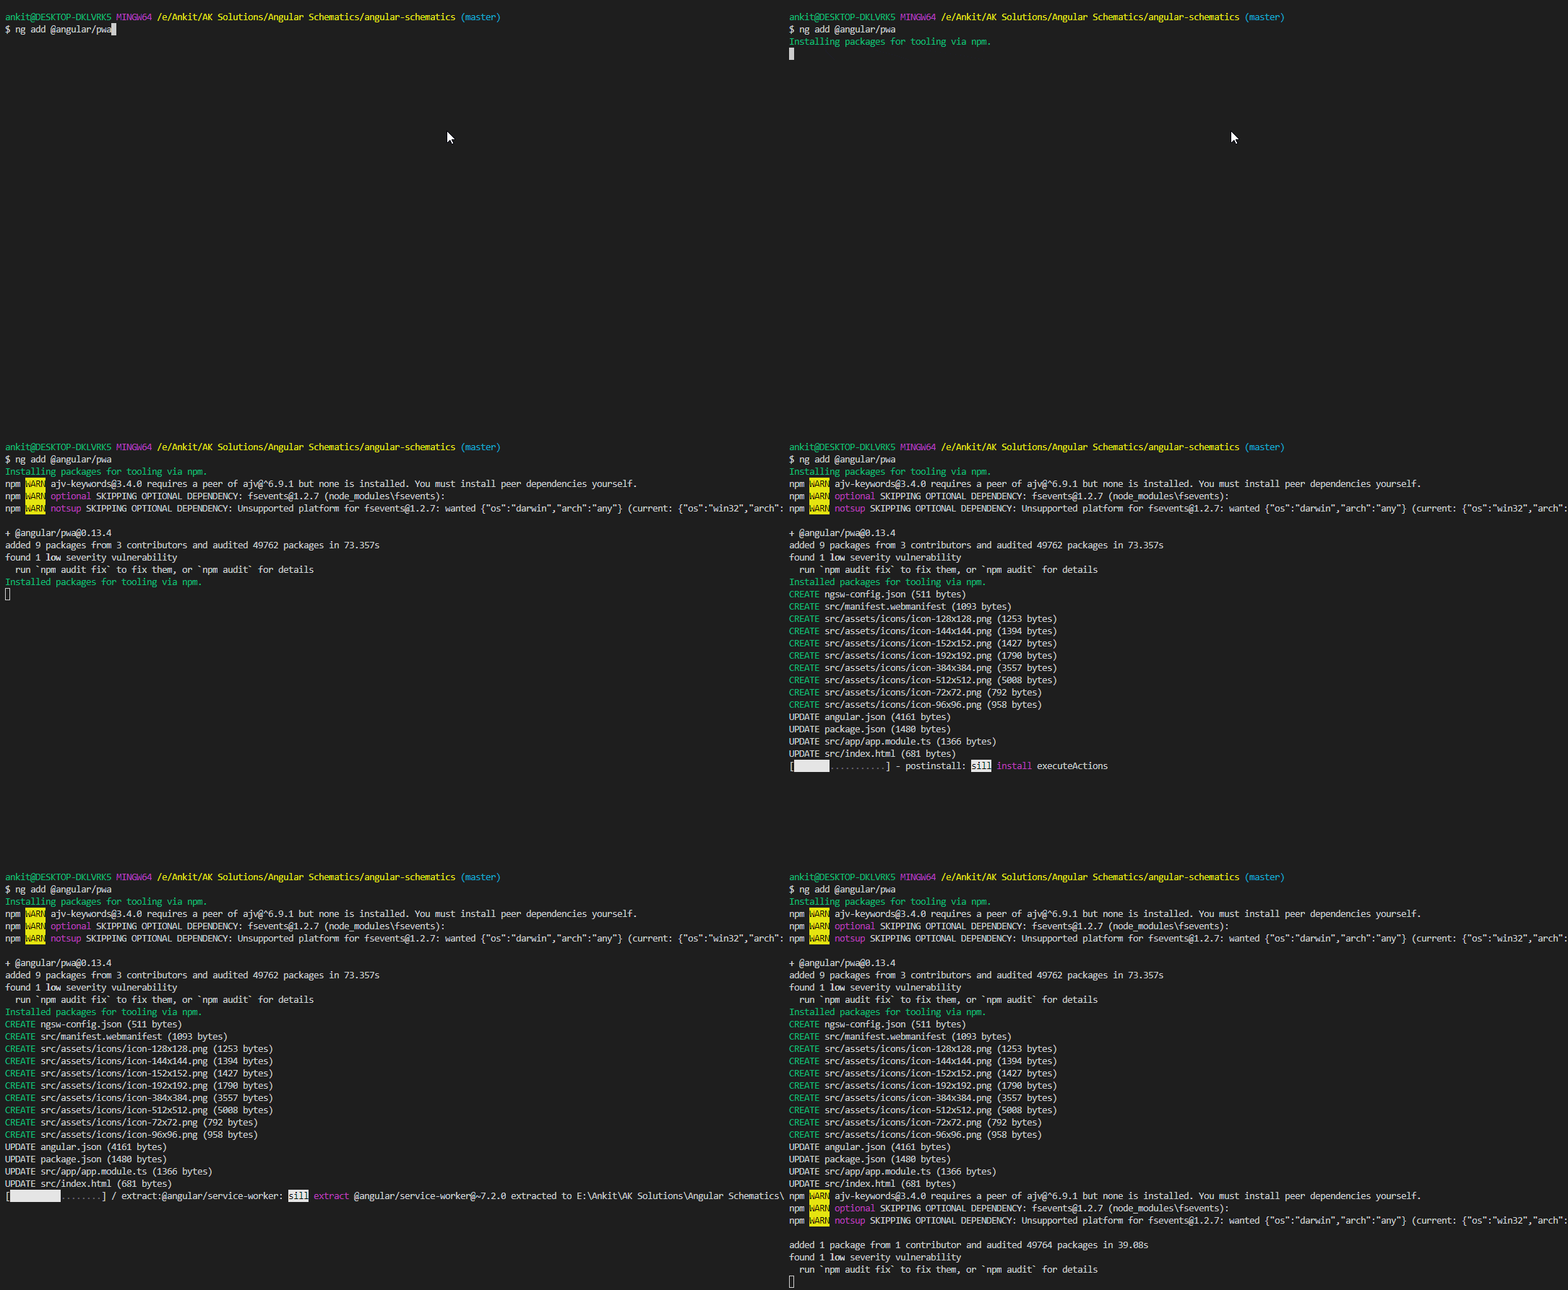
Using below command you can add progressive web app support in your angular app.
ng add @angular/pwa
Above command performs the following action :
- Adds the
@angular/service-workerpackage to your project. - Enables service worker build support in the CLI.
- Imports and registers the service worker in the app module.
- Updates the
index.htmlfile:- Includes a link to add the
manifest.jsonfile. - Adds meta tags for theme-color.
- Includes a link to add the
- Installs icon files to support the installed Progressive Web App (PWA).
- Creates the service worker configuration file called
ngsw-config.json, which specifies the caching behaviors and other settings.
NgRx Schematics gives commands to generate Store, Action, Reducer, Container, Effect, Entity and Feature.
For example, following command generates the action with given ActionName.
ng generate action ActionName [options]
NgRx Schematics installation is a little different than the above libraries. Refer NgRx Schematics overview for more details.
To use NGXS Store in an angular application, NGXS provides schematics. You can install it using below command.
ng add @ngxs/schematics
This command installs the required dependencies, and update the angular.json and package.json file
It provides schematic to generate Store, Action and State, along with this it also gives starter-kit schematic.
For example, use below command to generate Store.
ng generate @ngxs/schematics:store --name todo
This command generates two files, todo.actions.ts and todo.state.ts
NgMomentum provides schematics to generate CRUD operation views with its components and services. You just need to pass model and API URL as a command line. It also provides a schematic to generate view, value object, model and service.
Use below command to install ngMomentum schematics
ng add ng-momentum
To generate CRUD components with service, you just need to execute below command. You just point this to an endpoint or state the object structure and it creates a full CRUD operation against your endpoint create for consumption.
ng g ng-momentum:crud --name=heros --url=http://localhost:3000/superheros.json
Refer this blog for more details.

